Self-host your Dots Mesh profiles and groups
One of the key differences of the platform is the fact that it's distributed by design.
You are encouraged to join by self-hosting your profiles and groups. If you already own a domain and pay for website hosting, this can be fairly easy. If this is not the case, or you don't want to bother to set up your own host, you can take a look at the hosting service the Dots Mesh team offers.
Keep in mind that the IDs of the self-hosted public profiles and groups will contain your domain name (john.example.com for example).
There are multiple ways to get started:
Option 1: Start a Docker container
Requirements:
- A server running the Docker engine
- A domain starting with "dotsmesh." (dotsmesh.example.com)
Please follow the instructions at github.com/dotsmesh/dotsmesh-host-docker and come back here for the next step (running the installer).
- A server running the Docker engine
- A domain starting with "dotsmesh." (dotsmesh.example.com)
Please follow the instructions at github.com/dotsmesh/dotsmesh-host-docker and come back here for the next step (running the installer).
Option 2: Custom installation
Requirements:
- A web server (Apache, NGINX, etc.)
- PHP 7.4+
- A domain starting with "dotsmesh." (dotsmesh.example.com)
- SSL/TLS certificate
We've created a simple installer script that will check your environment, download the required files, and create the file structure needed.
Here is how to use it:
1. Download it
2. Place the file in the directory where your dotsmesh.example.com domain points.
Now you are ready to go to the next step (running the installer)
Running the installer
Now, open the installer in your browser. The URL will look like this:
https://dotsmesh.example.com/dotsmesh-installer.php
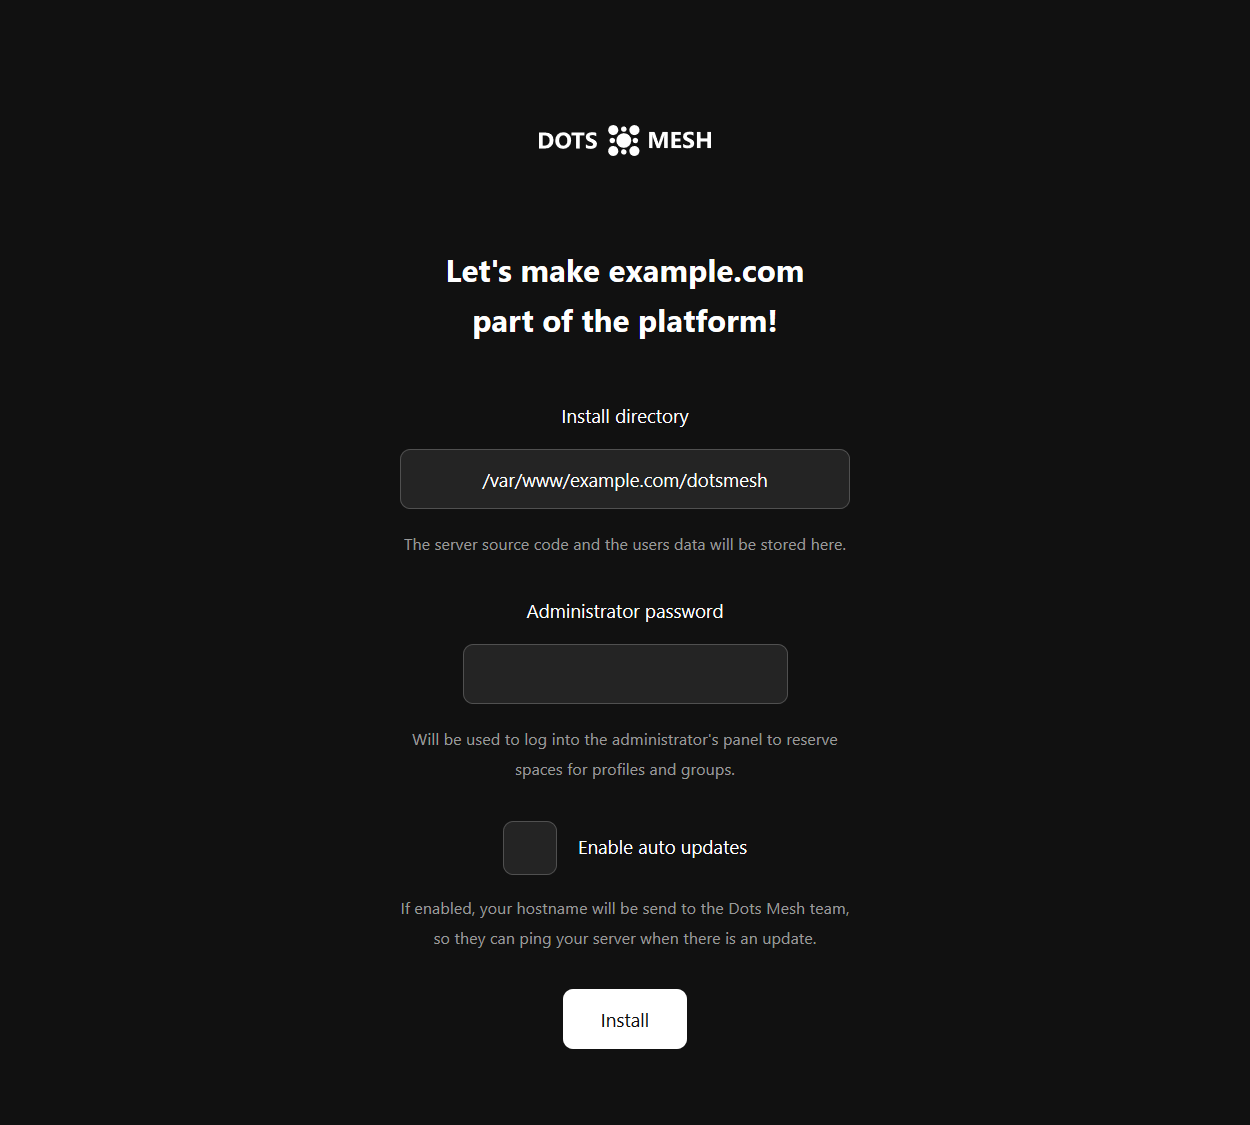
This is the screen you should see:
Specify the directory where the server source code and the host's data will be stored (automatically configured when running a Docker container).
The administrator password should be provided here, too. Later, it will be used to log you into the host administrator panel and create access keys for new profiles and groups.
Click "Install".
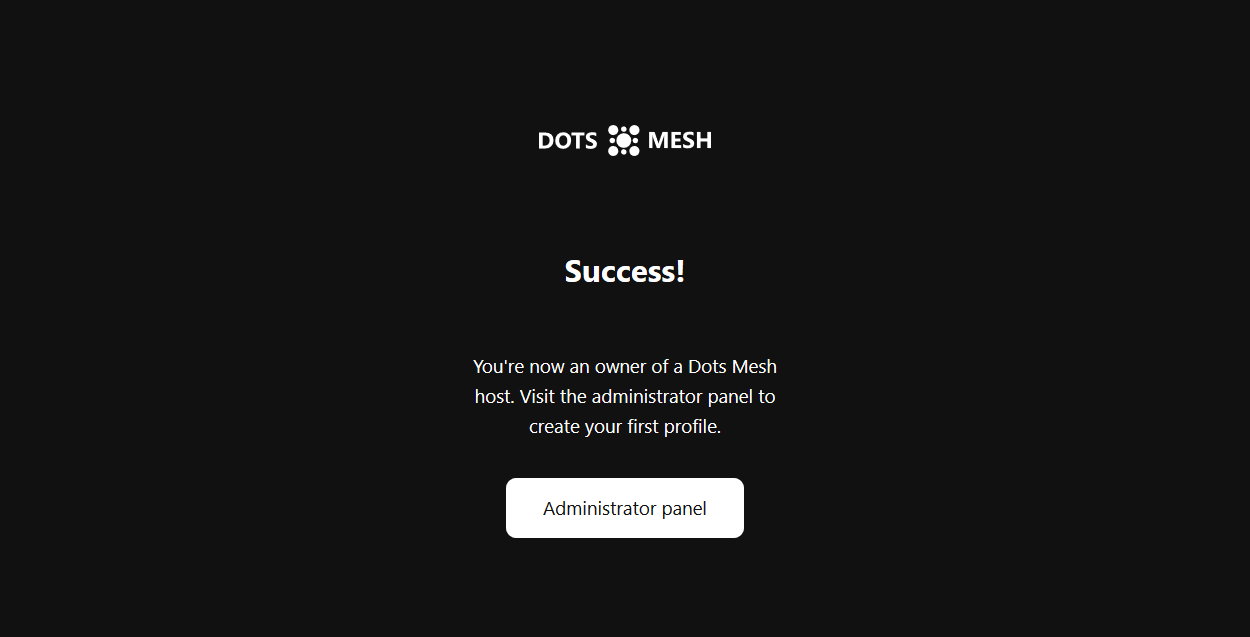
When done you'll be guided to the administrator panel to create your first profile.
Congratulations, you are now a part of the platform!
The Administrator panel
This is the place to create new spaces on your server for public profiles and groups. Each space is identified by a key, that you can use yourself in the Dots Mesh app or share with a friend, a family member, or a colleague.
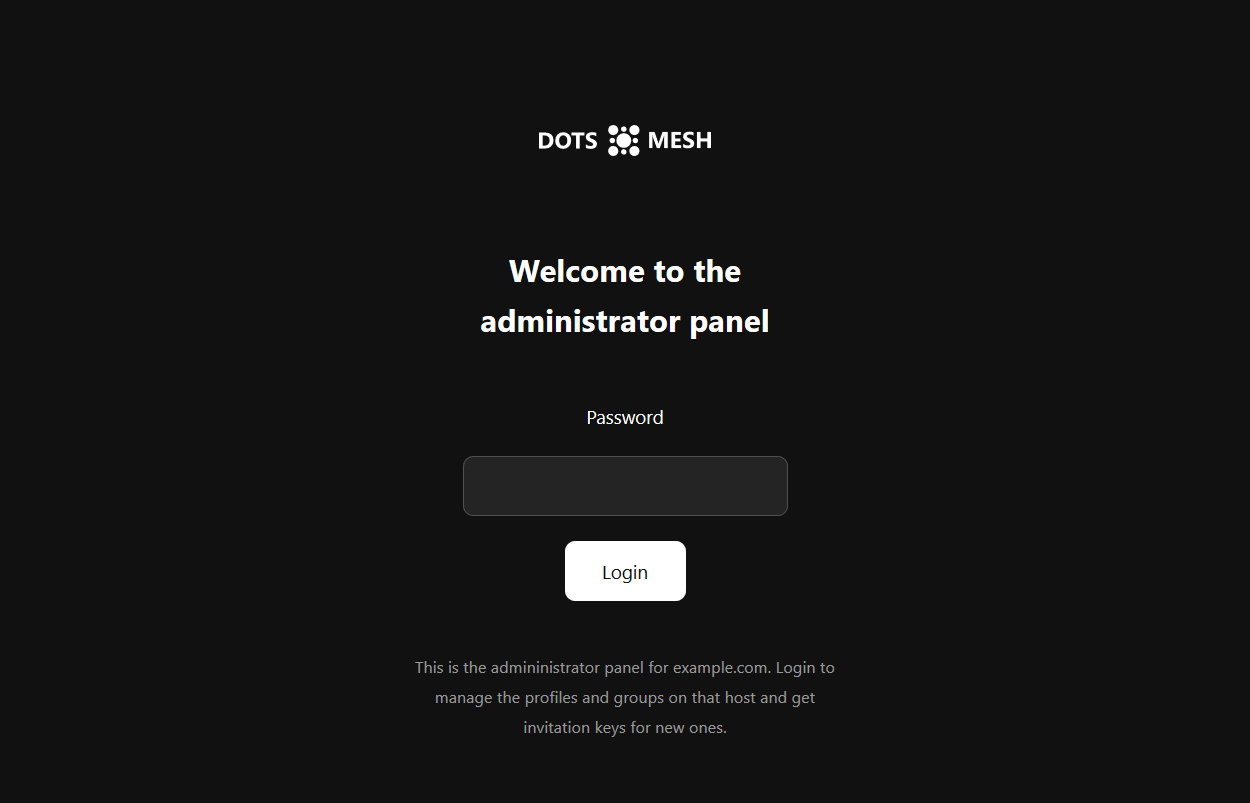
To access the administrator panel, visit https://dotmesh.example.com/ (where example.com is your domain). Then click the button at the bottom, and you should see a screen like this one:
To access the administrator panel, visit https://dotmesh.example.com/ (where example.com is your domain). Then click the button at the bottom, and you should see a screen like this one:
Enter your password, and you'll see a list of public profiles and a list of created groups. Click on a profile icon to open it in the web app.
Unused keys are shown too.
Unused keys are shown too.


